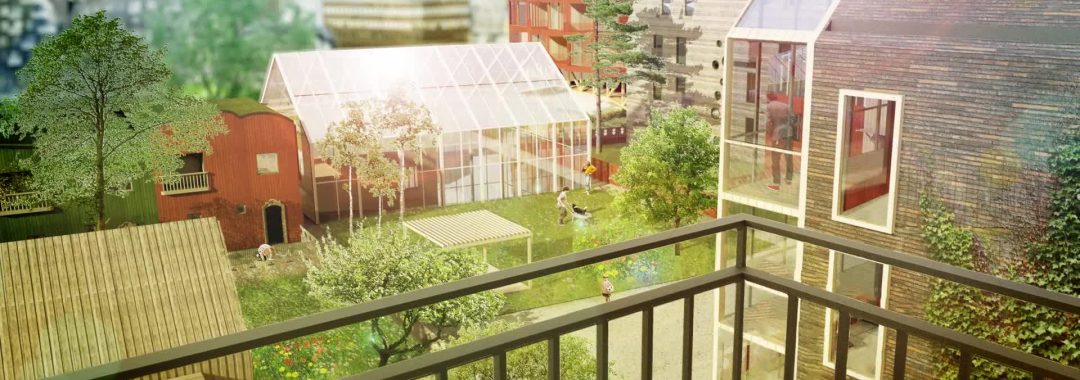
Recently I had to breathe life into static images for a film project by creating 2.5D animation in After Effects and Cinema 4D.
Despite developing skills in 2.5D animation for many years, rarely does a job call for this technique. Just because ‘you can’ doesn’t mean ‘you should’… right. Then one day a project comes along where ‘yes’… ‘you absolutely should’.
What is 2.5D animation?

For those wondering what on earth 2.5D animation is… you take a flat 2D image, break it apart into layers, convert the layers into 3D planes. After that it’s possible to move a 3D camera through the scene to create parallax. Not quite 2D, not quite 3D, somewhere in between… 2.5D.
The hardest part of the 2.5D animation process is breaking apart the layers in Photoshop and assembling them in 3D space. It’s certainly time-consuming and frustrating. But the light at the end of the tunnel is seeing the flat image magically come to life.
After Effects vs Cinema 4D
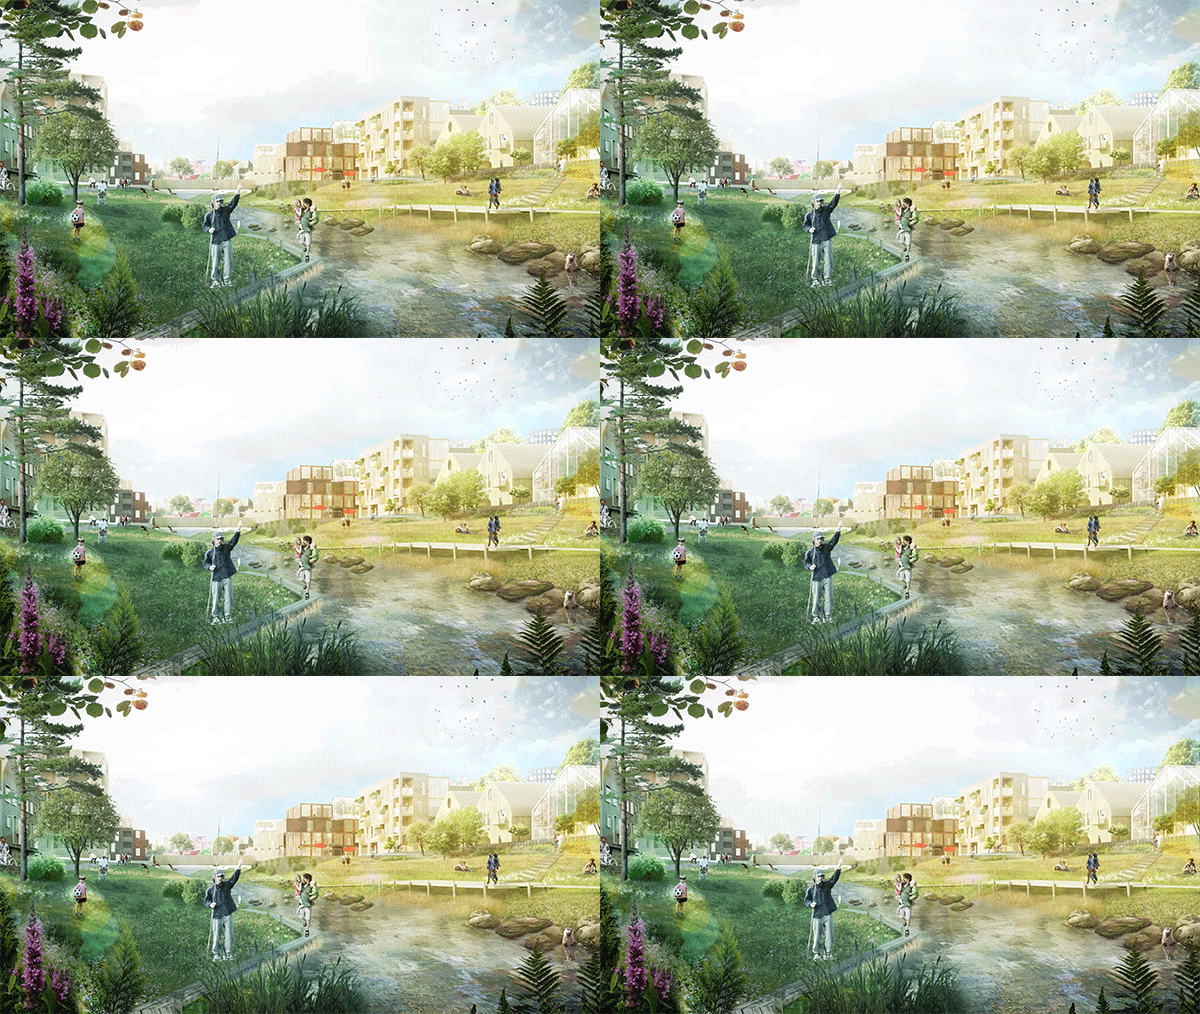
Both After Effects and cinema 4D are very capable tools when it comes to creating 2.5D animation. Both have their strengths and weaknesses when should you choose which?
After Effects is a fantastic tool in combination with Photoshop’s ‘Vanishing Point’ plugin to quickly spit out 3-D geometry from a still image to be animated. However the process is incredibly fiddly and results can sometimes leave a lot to be desired. It’s very much a hit and miss affair. I got lucky with the river scene which I managed without Cinema 4D.
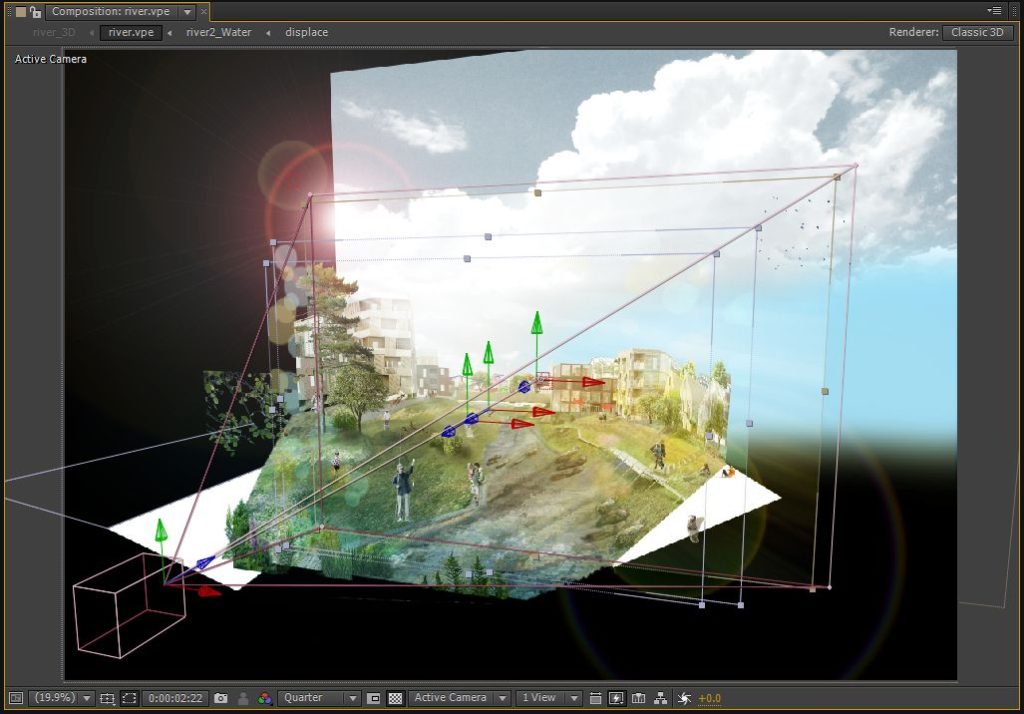
Inside After Effects the flatness and limitations are exposed from behind the 3D camera.
Camera calibration in Cinema 4D blows ‘Vanishing Point’ out of the water. For this project I needed precision and for that the only tool to use was Cinema 4D. With it I was able to map out the geometry and the have the figures perfectly positioned in Z-Space.
You have the added benefit in Cinema 4D of creating 3D geometry to create shapes in the correct perspective to wrap layers around.
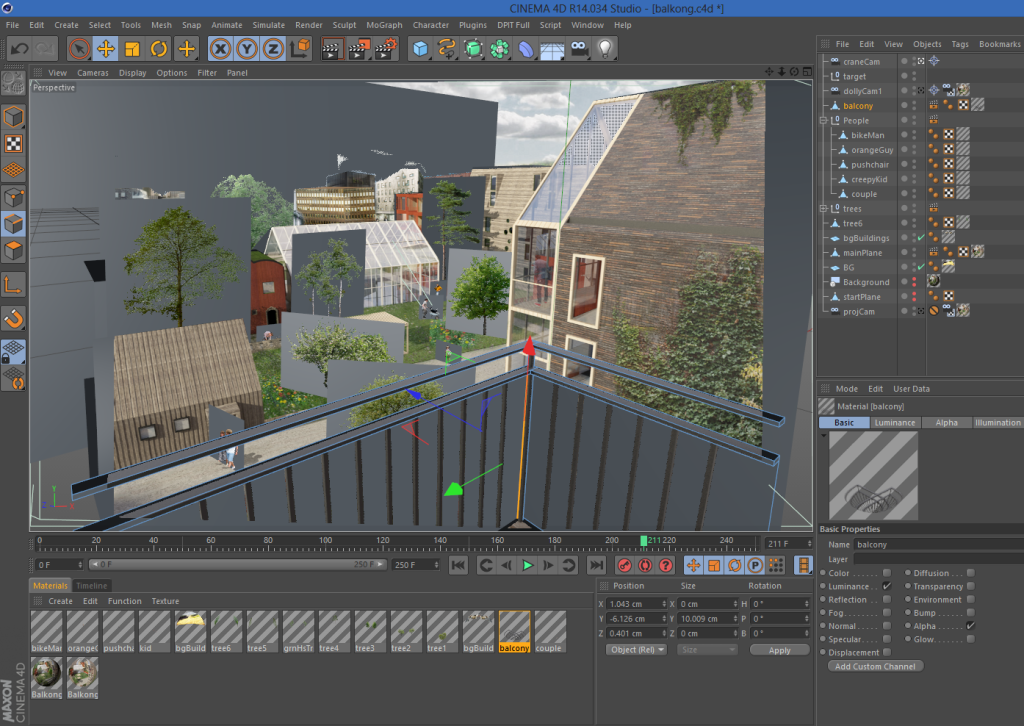
Adding basic 3D geometry in Cinema 4D helps provide depth and parallax.
The camera in Cinema 4D is a joy to use and a lot more versatile than the one in After Effects. Where Cinema 4D falls flat is developing the look. Rendering time can take forever and it can be a lot of trial and error until you reach the sweet spot.
For this project I kept everything pretty flat in Cinema 4D. I avoided Cineware and rendered out sequences the old school way.
Post-Processing in After Effects
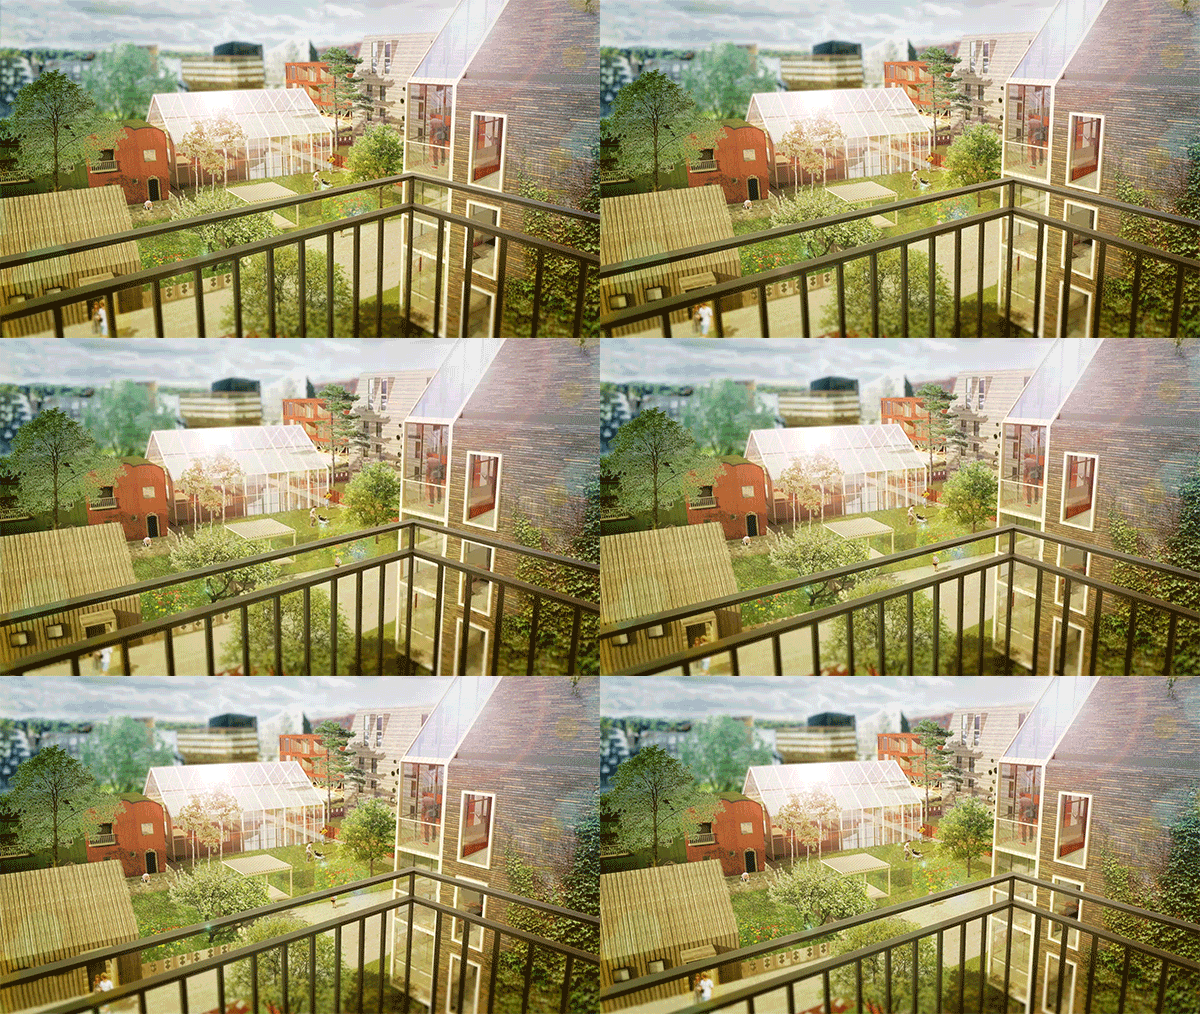
Once the camera moves and sequences were locked in Cinema it was time to render everything out for use in After Effects.
After Effects comes into it’s own for the beauty work. It works a lot like Photoshop and I was able to restore the look and feel of the original illustrations. Because the illustrations were created in Photoshop it’s easy to use the original adjustment layers and settings. It’s quite seamless to throw settings between the two programs.
Once the original look came together it was time to add the lens flares and water ripple effects. All of which work really well with the basic tools in After Effects.
The Project
The animations were part of a larger video project for Swedish construction company PEAB.
I was happy that the images I had to animate were of a high standard. I cannot claim any credit for the fantastic illustrations created by OkiDoki!
Here is quick showreel on Vimeo of the 2.5D animations by themselves:
